
How To Fix Scratched Motherboard: Ultimate Guide [2024]
The core of your computer is its motherboard. They keep all the important parts together and enable smooth communication between them.
They are among your computer’s most fragile components, though, and they are also readily broken. A scratched motherboard is one frequent problem that many individuals encounter.This could occur during installation or as a result of wear and tear brought on by ageing.
But don’t be alarmed! We’ll lead you through the process of “How to fix scratched motherboard” in this article.
Comprehending the Structure of a Motherboard
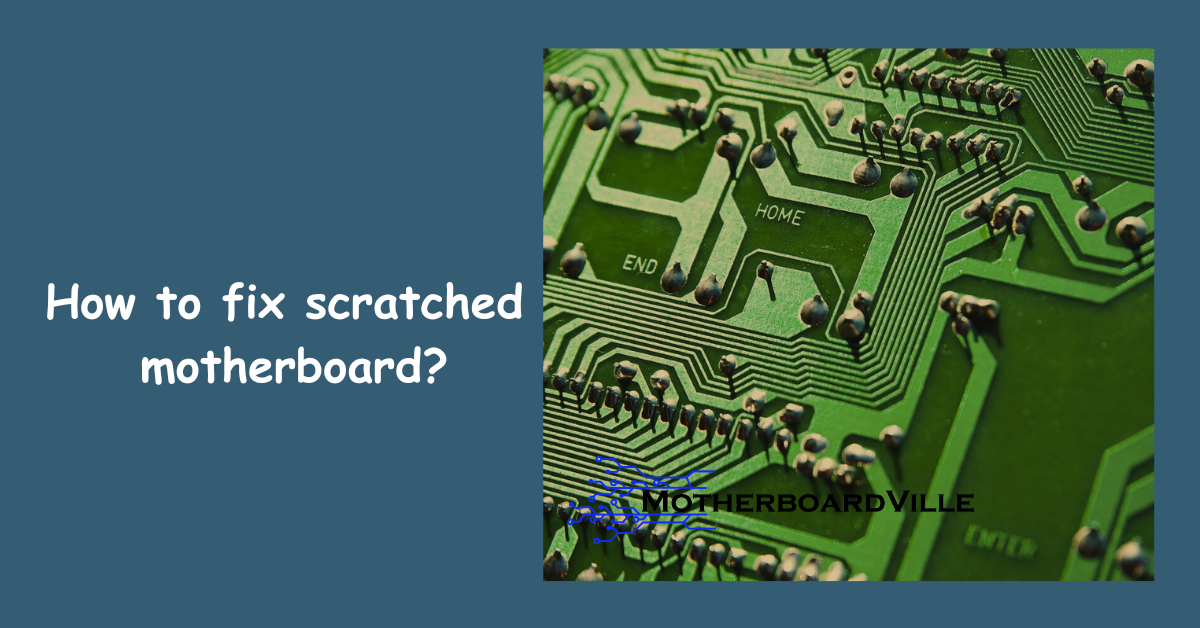
It’s important to understand the complex construction of a motherboard before beginning the repair process. Printed circuit boards, or PCBs, with multiple layers that link and enable communication between different parts of your device are called motherboards. These layers contain intricate pathways, commonly referred to as “traces,” that carry electrical signals.
Scratches on a motherboard can disrupt these traces, leading to malfunctions or complete hardware failure. When faced with a scratched motherboard, an expert must take precise steps to rectify the damage.
Identifying the Scratch
The first step to fix scratched motherboard is to identify the scratch. You can accomplish this by looking for any obvious scratches on the surface of your motherboard.
Additionally, you can observe some problems with your computer’s performance, such as slow processing or system failures. These might potentially be indications of a motherboard scratch.
Solutions To Fix Scratched Motherboard:
Setting up your workspace and tools correctly is essential before you start the repair process. Assemble all required equipment, such as a soft cloth, isopropyl alcohol, and a flathead screwdriver.
Here’s a step-by-step method to help you work through this difficult situation:
1. Thorough Inspection
Begin by scrutinising the motherboard closely. Assess the severity and location of the scratches. It is essential to determine whether the scratches have affected vital components, such as traces, capacitors, or resistors.
2. Isolating the Scratch
If the scratches are concentrated in a specific area and have not damaged critical components, your first objective is to isolate this area. This will help prevent further damage and safeguard the motherboard’s functionality.
3. Cleaning the Scratch
To get rid of any loose particles or impurities, carefully clean the area that was scratched using a soft, lint-free cloth. In the event that repairs are required, this step is essential to ensuring a proper bond.
4. Trace Examination
Carefully inspect the scratched area for any damaged traces. Traces are the copper pathways responsible for conducting electrical signals across the motherboard. If these traces are damaged, they must be repaired for the motherboard to function correctly.
5. Repairing Traces
Should you find damaged traces, you can attempt to repair them. This involves using conductive silver ink or a conductive pen. Carefully trace over the damaged section with the conductive material, ensuring it is dried as per the manufacturer’s instructions.
6. Coating for Protection
While not a direct repair technique, applying a conformal coating to the entire motherboard can help protect it from further damage. This protective layer can shield the PCB from scratches and external factors, enhancing the motherboard’s longevity.
7. Seek Professional Help
For extensive damage or if you lack confidence in your abilities to repair the motherboard, seeking assistance from a professional technician or an electronics repair specialist is highly recommended.Their experience, together with cutting-edge equipment and methods, might offer the best opportunity for a successful repair.
8. Preventing Future Damage
To prevent future scratches, always handle your motherboard with care. Utilise an anti-static mat and wrist strap during maintenance to minimise the risk of electrostatic discharge and avoid placing your motherboard on abrasive surfaces.
9. Data Backup
Make sure you backup any important data saved on the motherboard before starting any repairs. Since there is a chance of more harm occurring while the damage is being repaired, taking this precaution is essential.
Testing the Motherboard
It’s crucial to verify your motherboard after the repair is finished to make sure it is operating properly. Reassemble and power on your computer. If everything runs smoothly without any performance issues, then you have successfully fixed your scratched motherboard!
Preventing Future Scratches
To avoid dealing with a scratched motherboard in the future, always handle your motherboard with care during installation and maintenance. To avoid static discharge, wear an anti-static wrist band whenever you handle any computer components.
Additionally, keep the inside of your computer clean on a regular basis to avoid scratches from dirt and debris.
FAQs
Q: Will a scratched motherboard still work?
A scratched motherboard can still function, but its performance may be compromised. Scratches can disrupt the pathways that transmit data, leading to instability, slower processing speed, or even system crashes. It’s important to get the scratch fixed right away to prevent further harm and preserve peak performance.
Q: Are scratches on a motherboard bad?
Yes, scratches on a motherboard can be detrimental. They can interfere with the circuit pathways that transmit data, causing instability, slower processing speeds, or even complete system crashes. Thus, it’s best to address any scratches promptly to prevent further damage and ensure optimal computer performance.
Q: Can a motherboard that is damaged be repaired?
Yes, it’s usually possible to fix a damaged motherboard. While severe damage may require professional assistance, minor issues such as scratches can definitely be addressed at home. By using the right tools and following a careful process, you can restore your scratched motherboard to working condition.
However, it’s crucial to remember to always handle computer components with care to avoid further damage.
Q: Is there any way to repair the motherboard?
Absolutely, there are ways to repair a motherboard, especially if the damage is minor, like scratches. The process involves identifying the damage, preparing your workspace, and using the appropriate tools to fix the scratch.
However, for severe damages or if you’re not confident about handling the components yourself, it’s recommended to seek professional assistance. Always remember to handle your computer parts with care to prevent further damage.
Q:What are the signs that my motherboard is damaged?
Signs of a damaged motherboard can range from subtle system performance issues to clear physical indicators. If your computer experiences frequent crashes, unexplained error messages, or significant slowdowns, these could be signs of motherboard damage.
Physically, you might notice burn marks or blown capacitors on the motherboard. It’s also worth checking for scratches or broken traces, which could disrupt the data pathways. However, diagnosing motherboard damage can be complex, so if you suspect a problem, it may be best to consult a professional.
Q: Can oil damage a motherboard?
Yes, oil can indeed damage a motherboard. Despite not being conductive itself, oil can trap heat and cause overheating issues.
Furthermore, it may result in dust and debris adhering to the motherboard, which over time may cause damage such as circuit shorting. Make sure your motherboard and all other parts are dry and clean at all times.
Conclusion
In conclusion, any computer owner can greatly benefit from knowing how to fix scratched motherboard. It not only spares you from the possible expenses and waiting times associated with expert repair services, but it also gives you the know-how to keep your computer in good working order.
Remember, a well-maintained and carefully handled motherboard can significantly enhance your computer’s lifespan. So, let’s bid goodbye to scratches and welcome a smooth computing experience.
![Do Motherboards Have Integrated Graphics? [Integrated GPUs]](https://motherboardville.com/wp-content/uploads/2023/09/gpus-768x402.png)
![Why Motherboard Gets Damaged? [Fact Checked]](https://motherboardville.com/wp-content/uploads/2023/09/dam-768x402.png)